Personal Data Protection: A Beginner’s Walkthrough for Two-Factor Authentication Setup Guide for Beginners
In an era where our digital lives are intertwined with our personal data protection, securing online accounts has never been more critical. A strong password is a good first step, but it’s no longer enough on its own. The most effective way to add a powerful layer of security is by enabling two-factor authentication (2FA). This two-factor authentication setup guide for beginners will walk you through the process on several popular platforms, helping you take control of your privacy and cybersecurity.
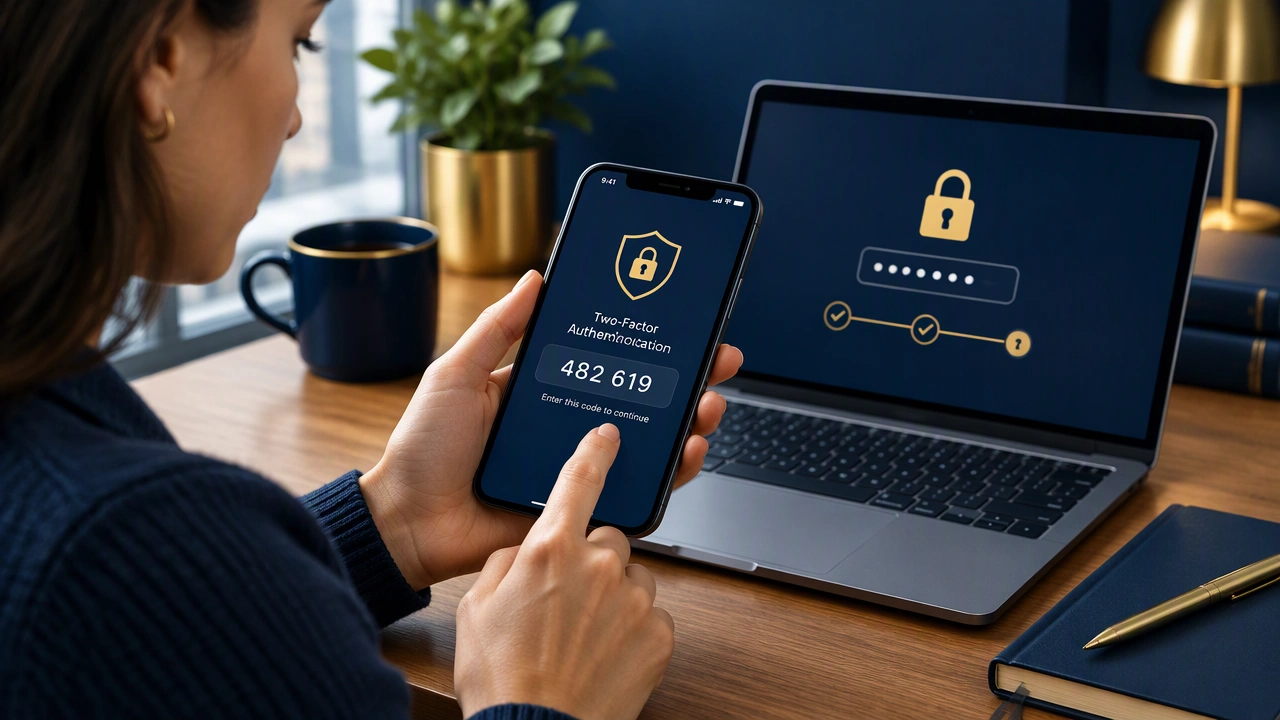
Two-factor authentication is a security method that requires two different forms of verification to access an account. Think of it like a bank vault that requires both a key and a code. The first factor is something you know (your password), and the second is something you have (like your phone). Even if someone steals your password, they can’t get into your account without that second factor. This simple step dramatically reduces the risk of unauthorized access.
Understanding Your 2FA Options
Before we dive into platform-specific instructions, it’s helpful to know the common types of second factors you’ll encounter. Choosing the right one for you depends on your comfort level and desired security.
- SMS or Voice Codes: This is the most common method. The service sends a one-time code via text message or an automated phone call that you must enter after your password. It’s convenient but less secure than other options, as it can be vulnerable to SIM-swapping attacks.
- Authenticator Apps: These are dedicated apps on your smartphone (like Google Authenticator, Authy, or Microsoft Authenticator) that generate time-sensitive, one-time codes. They are more secure than SMS because they aren’t tied to your phone number and work without an internet connection once set up.
- Security Keys: A physical device, often a small USB or NFC key, that you plug into your computer or tap on your phone. This is one of the most secure methods, as it’s immune to phishing attacks. You simply tap the key when prompted.
- Push Notifications: Some services, like Microsoft, send a push notification to a trusted device (like your phone) when you try to log in. You simply tap “Approve” or “Deny” on the notification.
Step-by-Step: Enabling 2FA on Major Platforms
While the exact menus may vary, the process is generally similar across services. Here’s a practical walkthrough for a few widely used platforms.
Google Account
Securing your Google account protects your email, photos, documents, and more. Google calls its feature “2-Step Verification.”
- Go to your Google Account settings and navigate to the Security tab.
- Under the “Signing in to Google” section, find and click on 2-Step Verification.
- Click Get Started and follow the on-screen prompts. You’ll typically start by adding your phone number for SMS or voice codes.
- For stronger security, Google will strongly recommend setting up an Authenticator app or a physical security key as your primary method.
- Once enabled, you’ll be asked to verify your identity with the second factor whenever you sign in from a new device or browser.
Apple ID
Your Apple ID is the key to your iPhone, iPad, Mac, and iCloud data. Apple’s system is called Two-Factor Authentication.
- On your iPhone or iPad, go to Settings > [Your Name] > Password & Security.
- Tap Turn On Two-Factor Authentication and follow the instructions.
- You’ll need to provide a trusted phone number that can receive text messages or calls. Apple will use your Apple devices as one of the factors, sending a prompt with a verification code to your other trusted devices when you sign in.
Microsoft Account
This secures your Outlook email, OneDrive files, and Windows login.
- Visit the Microsoft account security page and select Advanced security options.
- Under the “Two-step verification” section, click Turn on.
- Microsoft will guide you through setting up verification via the Microsoft Authenticator app, which supports both codes and more secure push notifications.
- You can also add a phone number or a security key as alternative methods.
Social Media: Facebook & Instagram
Protecting your social media accounts prevents impersonation and privacy breaches. Both platforms are owned by Meta and share a similar process.
- Navigate to your account Settings > Security and Login.
- Find the option for Two-Factor Authentication and click Edit or Set Up.
- You’ll be prompted to choose a security method. The recommended option is usually an Authentication App. You’ll scan a QR code with your app, enter the generated code to verify, and you’re set.
- Facebook also offers Security Keys and SMS codes as alternatives.
Best Practices for Managing Your 2FA
Enabling 2FA is a fantastic step. To maintain your security, follow these important practices.
- Save Your Backup Codes: When you set up 2FA, most services provide you with a set of one-time-use backup codes. Write these down and store them in a secure, physical location (like a safe or locked drawer). They are your lifeline if you lose your phone.
- Don’t Share Codes: Never share a 2FA code with anyone. Legitimate companies will never ask you for your verification code over the phone or email. This is a common tactic in phishing scams.
- Start with Your Most Important Accounts: If enabling 2FA everywhere feels overwhelming, start with your email, cloud storage, and financial accounts. These are the highest-value targets.
By following this two-factor authentication setup guide for beginners, you have taken a significant and proactive step in safeguarding your digital identity. It might seem like a small inconvenience at first, but the peace of mind and robust personal data protection it provides are well worth the effort.